Support
1. Verify Your Setup
Our Set-Up Wizard covered these steps when you created your account with us, but just to be sure, let’s look at each step to ensure your account is complete.
Add Your Business Location
Start with creating a profile for a business location. If you are a one-location business, then just adding your location is all you need. If you have 3 locations, you will need to create a business location for each profile (this is because each location will have its own data and online review profiles). Here’s how to add your business locations:
- Click ADD BUSINESS button in the upper left of screen.
- Complete the business contact and location information.
- Select the BUSINESS TYPE that most accurately describes your business, and the BUSINESS SUBTYPE if prompted, as these selections are part of your Review Widget, code installation, and provide SEO benefits.
If you have multiple business locations, repeat this process and add each location to the platform. If you have more than 20 locations, please contact us so we can provide a bulk location upload spreadsheet.
To edit an existing location in the platform, make sure you are in that location (clicking from Business Dashboard). Go to ACCOUNT and then select BUSINESS DETAILS from the dropdown menu.
EXAMPLE: Adding the Facebook profile for Plymouth VIP Auto
Facebook Profile: https://www.facebook.com/pg/PlymouthVIPAuto/reviews/
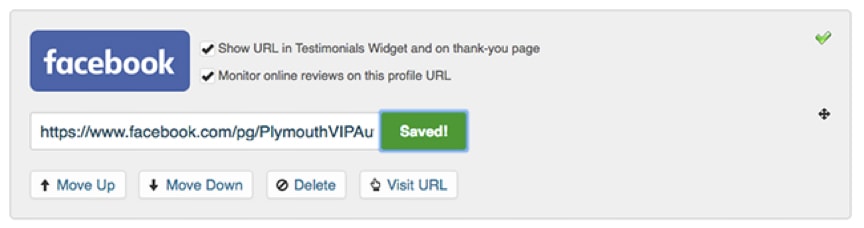
When saved/added you will notice the green check mark as pictured above. You will also notice the checkmarks allowing you to ask for reviews on this site by selecting the “Ask for reviews on this profile URL” line and/or monitor this site for reviews by selecting the “Monitor online reviews on this profile URL” line.
★ Pro Tip: We have found that a small amount of choice is best when it comes to your selection of online review websites. Try to select between 2 to 4 sites total. Give a few options for the best response rate. You can monitor up to 10 review sites.
Set Your Brand & Colors
Your feedback process will be branded with the look and feel of your organization. This step will help you add your logo, accent color, and an optional banner image to appear on specific templates in your email requests and feedback landing pages.
- Select SETTINGS on the main menu and then select BRAND & COLORS.
- Upload your Logo to the platform using a .JPG or .PNG file format.
- Select your Accent Color for your account. You will want this to be one of your brand/logo colors and it should be a medium to dark color because of how it’s used in buttons and in text.
- Select and add your Banner Image to be used on certain landing pages (not emails) in the platform. The banner image is optional, and you can always add it, view your templates, and then delete or change it.
Our email and page templates are designed to be clean, professional and enable the customer to give feedback. You are able to edit any of these settings at any time in our platform.